First, let's disable language synchronization. With a Microsoft account, language settings sync across devices. To prevent any complications, it's wise to disable this feature before proceeding. Here's how:
1. Navigate to Settings.
2. Select Accounts.
3. Click on Sync your settings.
4. Toggle off the Language preferences.

5. Now, proceed to adjust the language settings using the Settings application:
a. Open Settings.
b. Choose Time & Language.
c. Select Region & Language.
d. Under Languages, tap on Add a language.

e. Utilize the search box to locate your preferred language.
f. Choose the language and click Next.
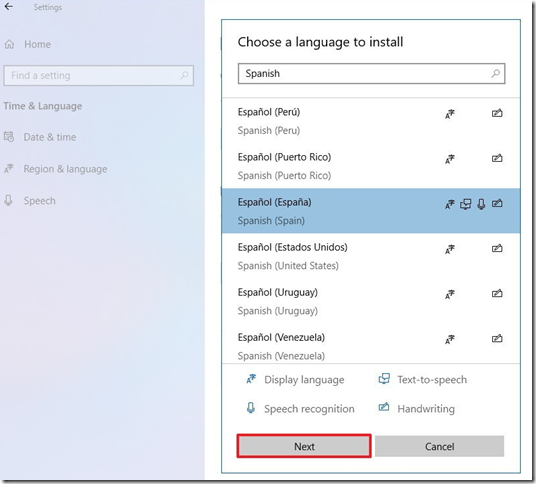
g. Ensure to check Set as my Windows display language.
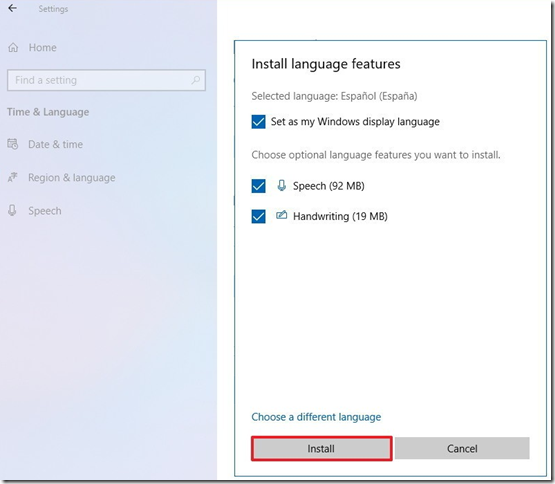
h. Select any additional features you wish to install.
i. Click Install.
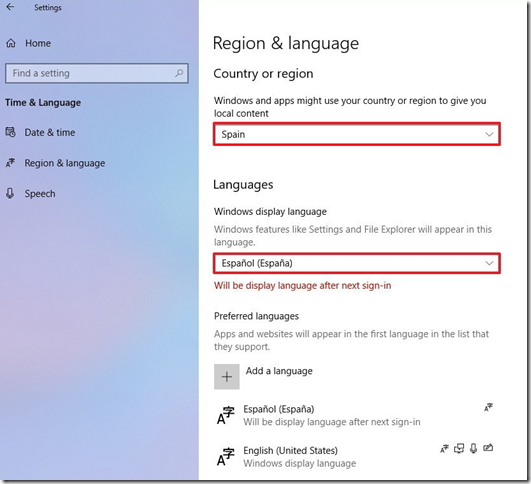
j. Confirm that the new language is selected under "Windows Display Language."
k. If necessary, adjust your Country or Region settings.
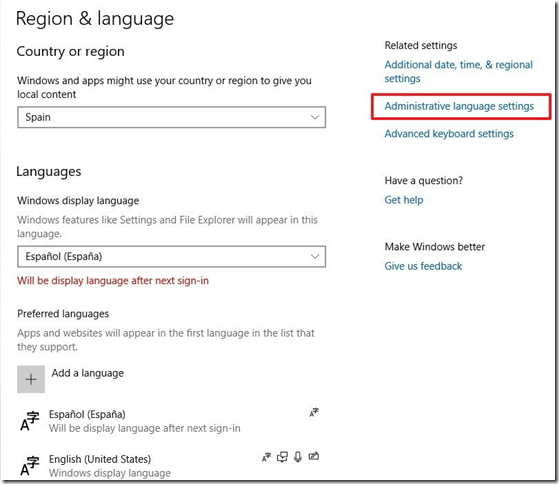
l. Proceed to the right pane and click on Administrative language settings.
m. Within the Administrative tab, select Copy Settings.
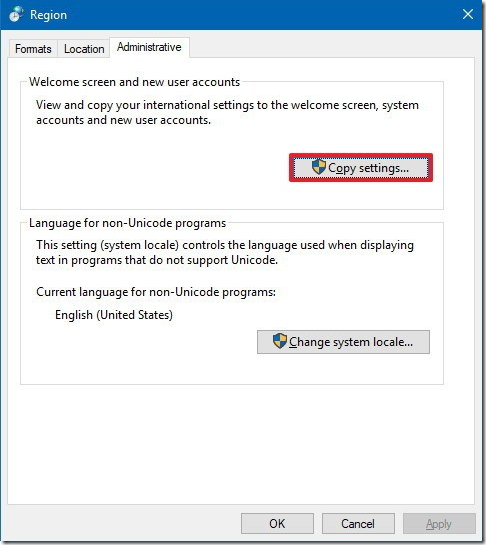
n. Under Copy Current Settings to, check the Welcome Screen and System Accounts as well as New User Accounts options.
o. Confirm your selection by clicking OK.
p. Click OK once more to complete the process.
After completing the steps, everything on the device, including the login screen, settings, file explorer, applications, and websites, will use the new default language. If you feel the tutorial order or images are slightly confusing you can also read this earlier article I wrote, if you have any questions feel free to leave me a comment~!